
DIY Horror T-Shirt: Transform Your Old Clothes into Killer Styles


Transforming your old clothes into DIY horror T-shirts is a fantastic way to breathe new life into your wardrobe. Whether you're a fan of gory graphics or subtle spooky styles, creating your own horror-themed T-shirt can be a fun and creative project. In this guide, we'll walk you through the steps to turn that forgotten tee at the back of your closet into a killer piece of wearable art.
Gather Your Materials
Before you start crafting, you'll need to gather a few essential materials. Here's a list to get you started:
- Old T-shirt (preferably in a light color for better visibility)
- Fabric paint or markers
- Stencil or freehand design (you can print or draw your own)
- Sponge brushes or regular paintbrushes
- Cardboard (to place inside the shirt and prevent paint bleed-through)
- Scissors (if you plan to distress the shirt)
Once you've gathered these items, you're ready to start the transformation process. Remember, the key is to unleash your creativity and let your love for horror shine through!
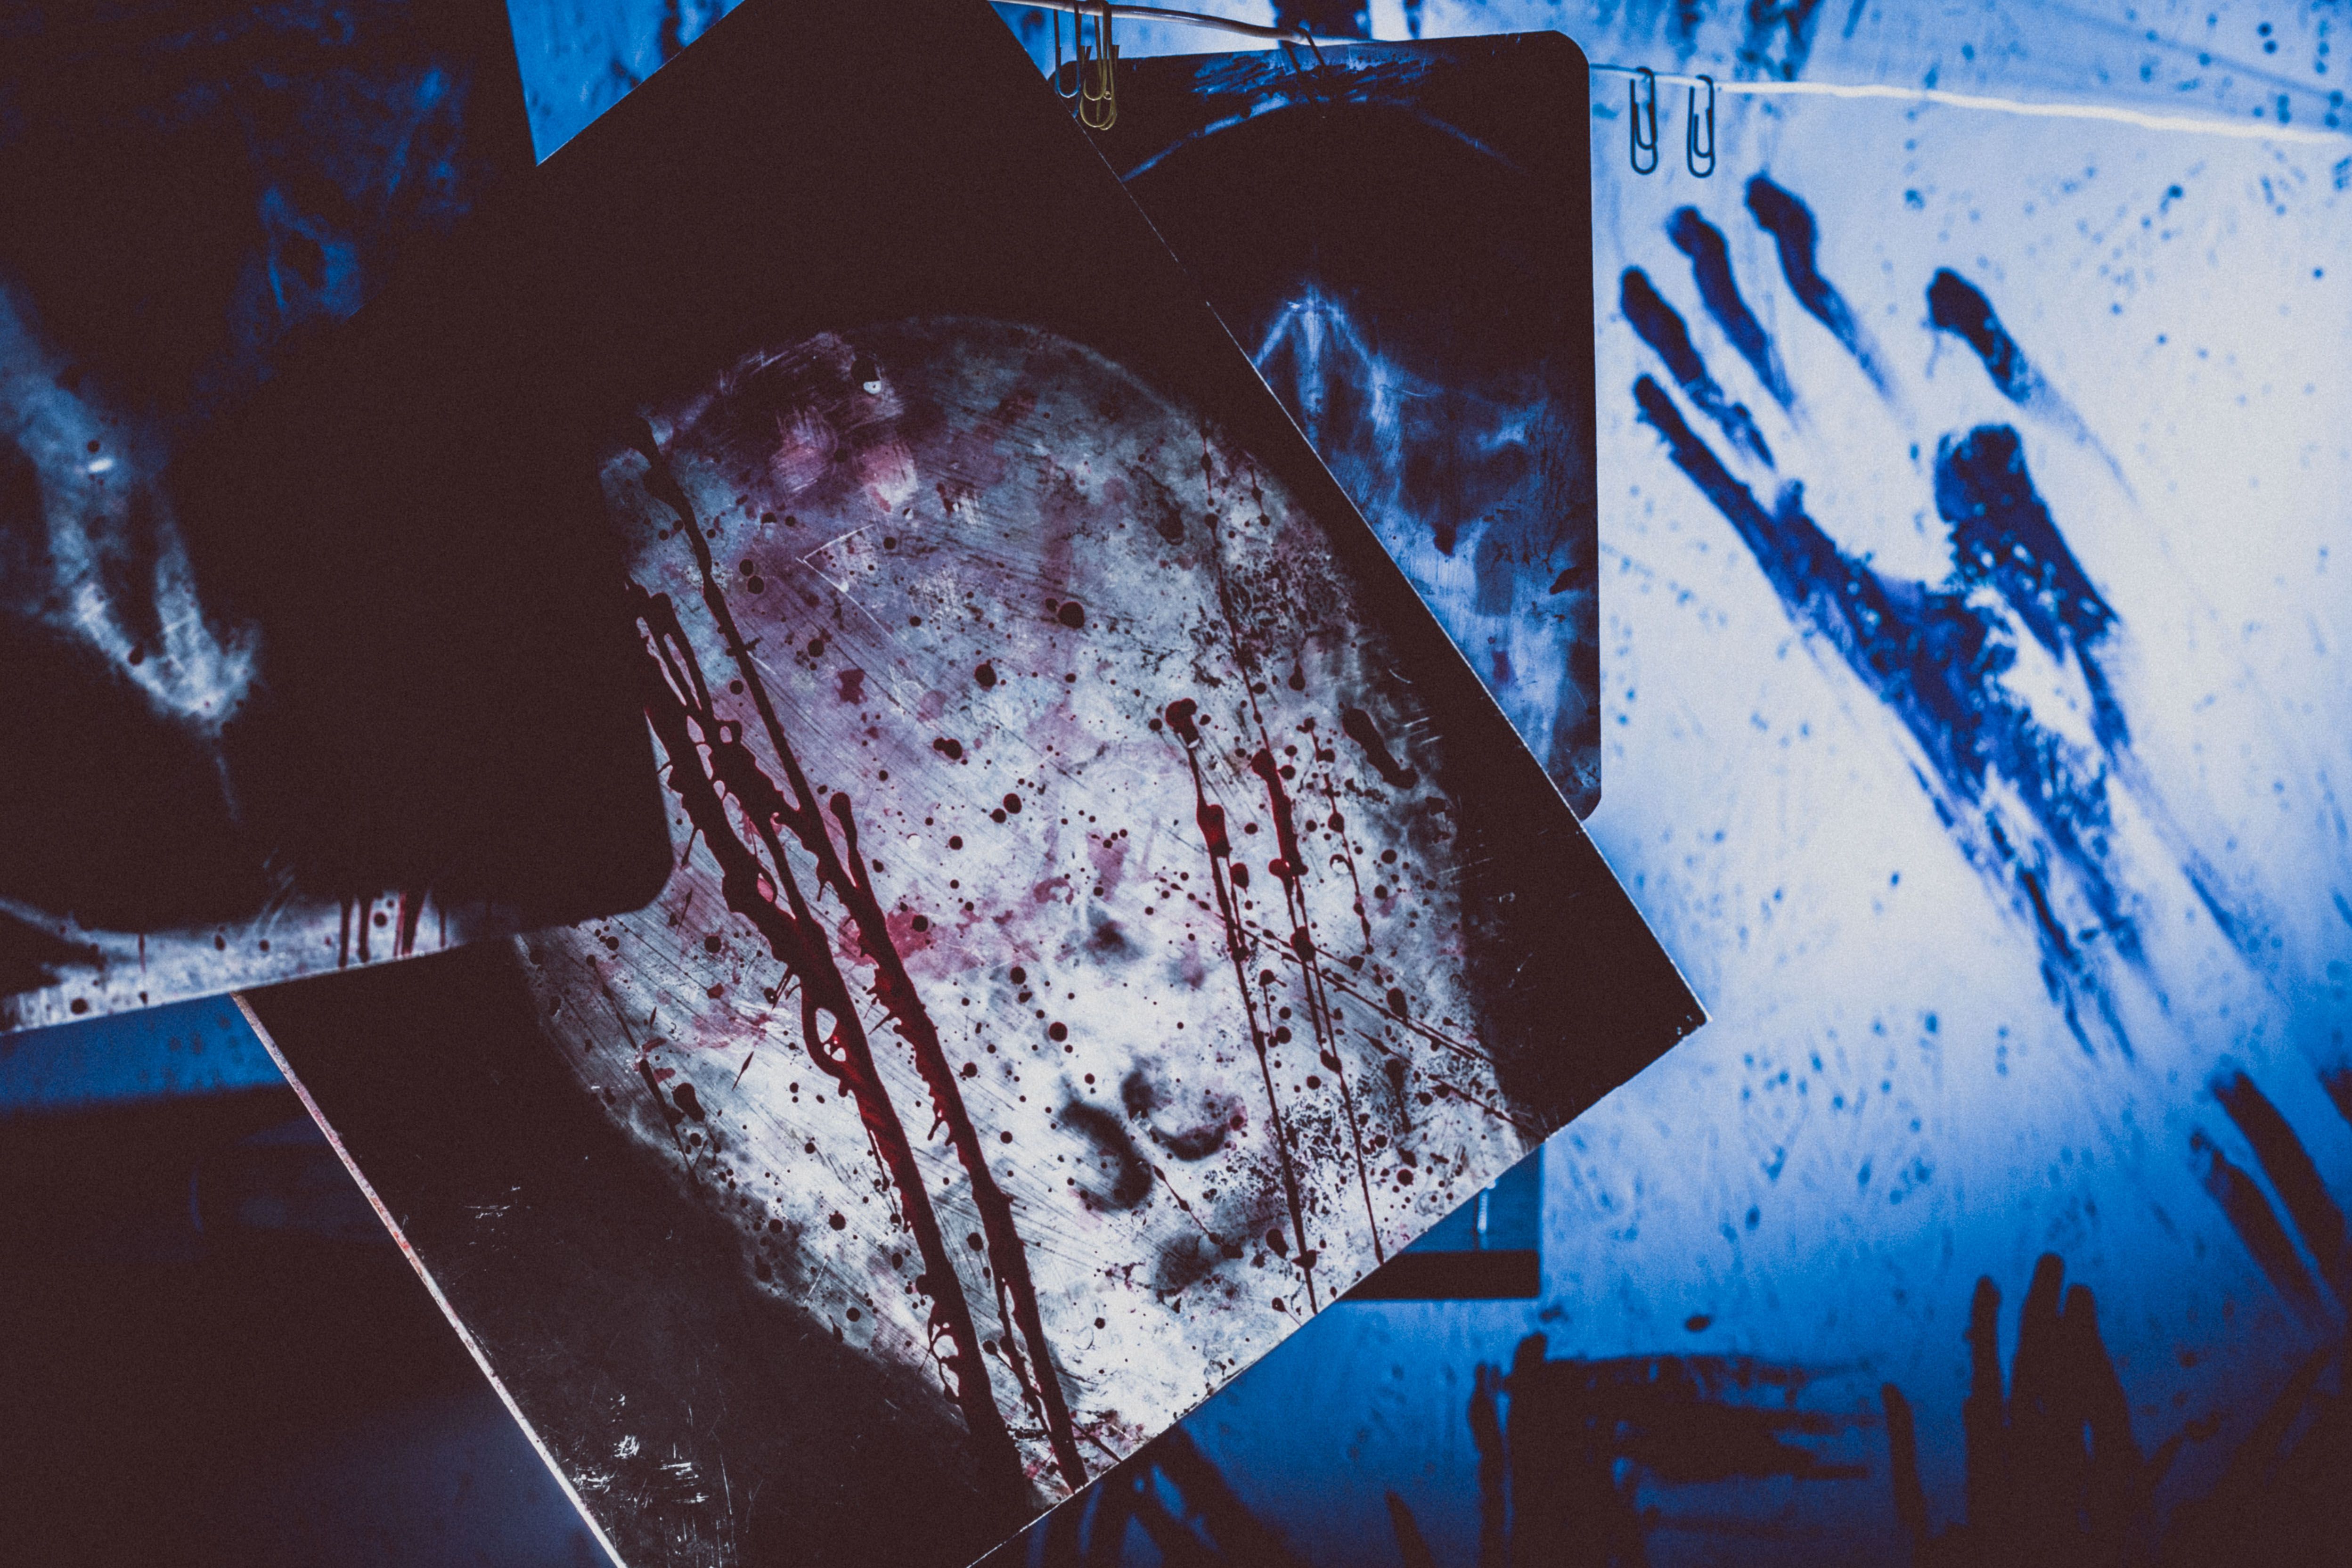
Design Your Horror Theme
The design phase is where your imagination takes center stage. You can opt for classic horror motifs like skulls, ghosts, or bats, or get inventive with custom graphics inspired by your favorite horror movies. Consider mixing different elements to create a unique look.
Using Stencils
If you're not confident in your freehand drawing skills, using stencils is a great alternative. You can purchase pre-made stencils or create your own using cardboard. Simply place the stencil on the T-shirt, secure it with tape, and dab the fabric paint over it using a sponge brush.
Freehand Designs
For those who enjoy a more personalized touch, freehand drawing allows for endless possibilities. Start with a light sketch using a pencil or fabric chalk, then go over it with fabric markers or paint. Remember to use bold lines and vivid colors for that striking horror effect.
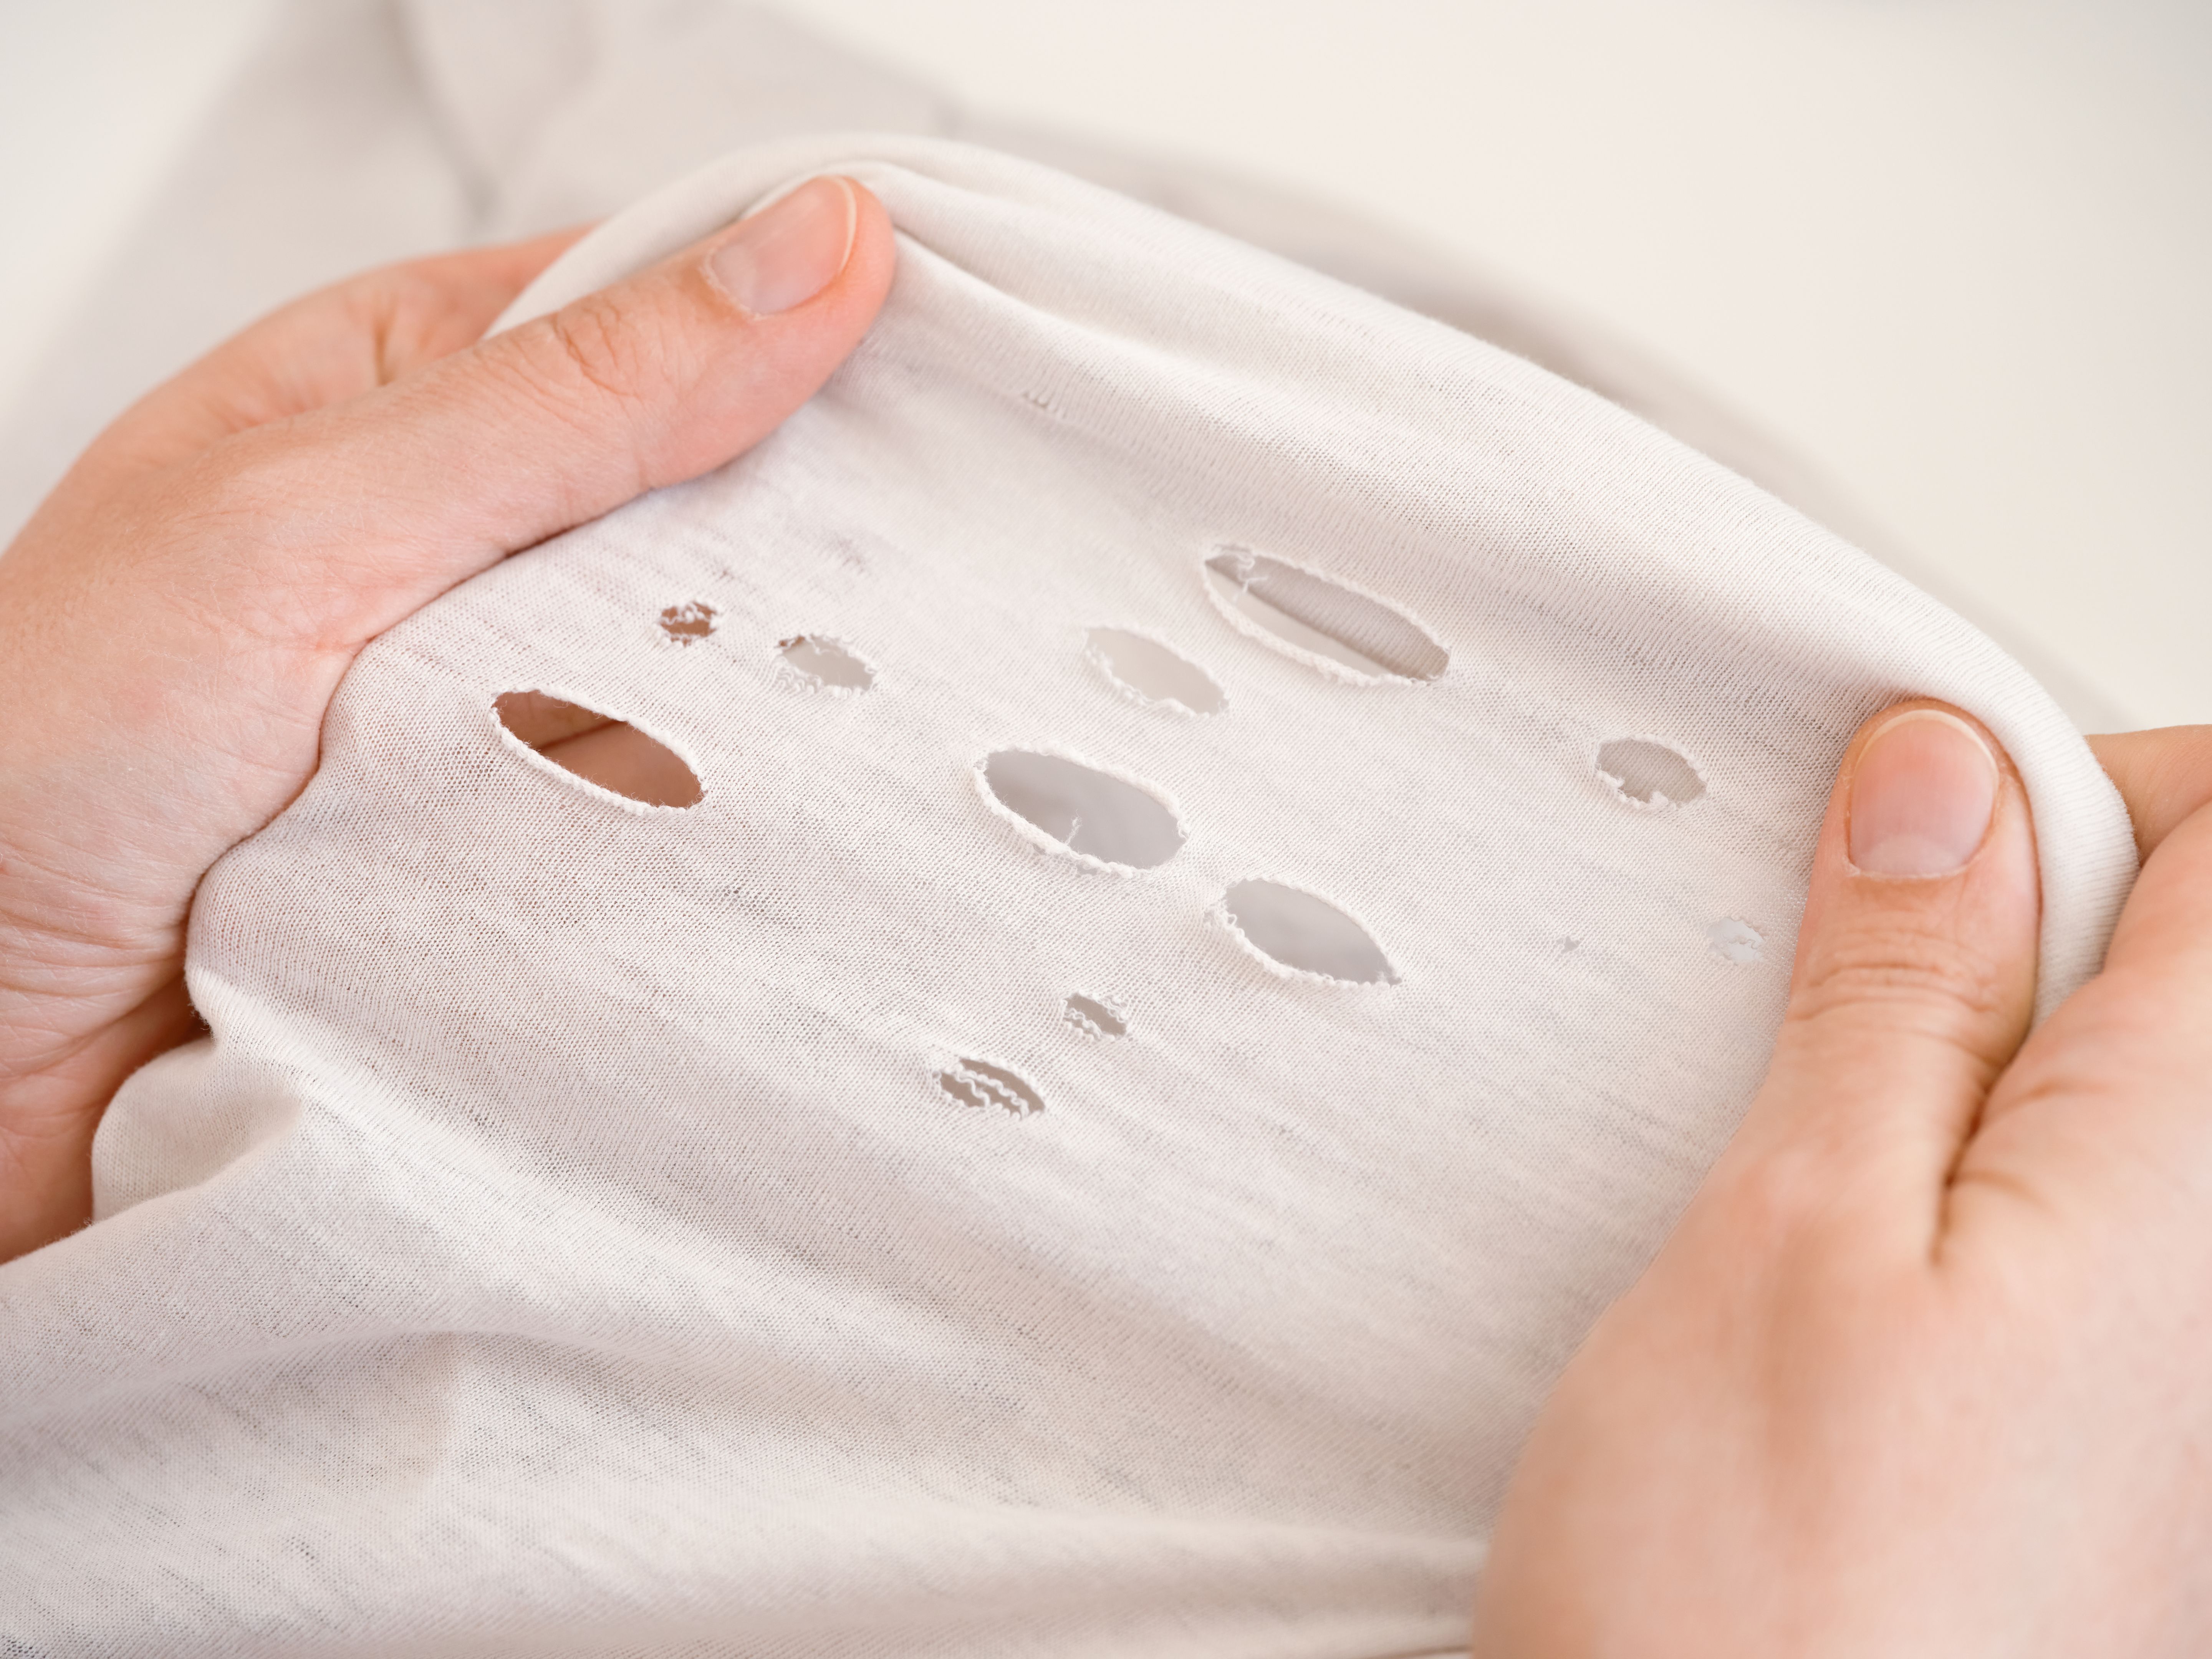
Adding Distressed Details
To enhance the horror vibe, consider adding distressed details to your T-shirt. This technique not only gives your shirt an edgy look but also adds texture and depth to your design.
Simple Distressing Techniques
You can achieve a distressed effect by making small cuts or slashes in the fabric. Use scissors to snip along the edges or create small holes randomly across the T-shirt. Pull on the edges of the cuts to fray them slightly, giving it an authentic worn-in appearance.
Final Touches and Care
Once your design is complete and you've added any distressed elements, let the paint dry for the recommended time. Check the instructions on your fabric paint for specific drying times and any heat-setting requirements.
To ensure your DIY horror T-shirt lasts, wash it gently by hand or use a delicate cycle on your washing machine. Turn the shirt inside out to preserve the design and avoid harsh detergents that might fade the colors.
Now that you've mastered the art of creating DIY horror T-shirts, you can continue experimenting with different designs and techniques. Not only will you have a one-of-a-kind piece, but you'll also have honed your crafting skills in the process!